The models are yours.
Talyx runs no model of its own. In Settings, add a provider with an API key, sign in with an account you already have, or point Talyx at a custom endpoint. Every bot can then use it.

Three ways to add one
An API key
Pick the provider, paste the key and click Check. Talyx tells you whether the key works and how many models it serves.
An account sign-in
Sign in with an account you already have and approve it in your browser. Some accounts sign in with their own tool; Talyx shows the command to run.
A custom endpoint
Any OpenAI-compatible server, such as a local router. Give it a name, its base URL and the models it serves.
Then pick per bot
Set up once
Keys and endpoints you add go to every bot, and all of them share a sign-in. You add a provider once, not once per bot.
A model per bot, and per chat
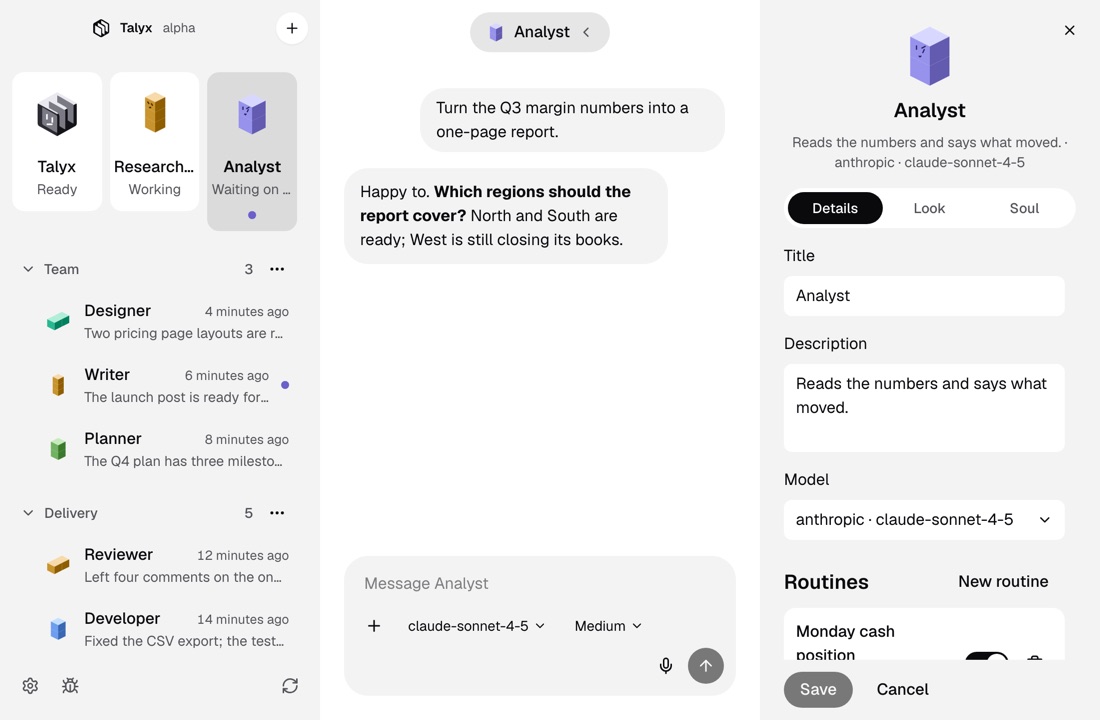
Each bot has its own model, set in its details. In the composer, switch the model for a chat and set how hard it reasons: low, medium or high.
Talyx’s model
Settings also holds the model Talyx itself uses. New bots start with it; the others keep their own.
Keys stay on your computer
The engine keeps your keys and sign-ins on your computer. Talyx hands them over and keeps no copy. Your provider bills you for what your bots use, if it charges.
More of Talyx
DownloadTalyx.
Free and open source under MIT. No account and no card.
- A computer
- A Mac with macOS 13 or newer, or Linux x64.
- The engine
- First-run setup installs it, for your user only.
- A model
- An API key or a sign-in with your provider account.
Version 1.0.0. Not sure which Mac you have? Apple menu, About This Mac: it shows Chip for Apple Silicon or Processor for Intel. Windows comes later.
Builds are not signed. On a Mac, open Talyx once, then click Open Anyway in System Settings, Privacy & Security, or run xattr -dr com.apple.quarantine /Applications/Talyx.app. On Linux, run chmod +x Talyx-x86_64.AppImage, or install the deb with sudo apt install ./Talyx-amd64.deb.